Upload an image
Before you can insert an image with the WYSIWYG editor, it must first be uploaded into the images directory (_assets/images folder).
Insert an Image in the Page Content
To insert an image via the WYSIWYG:
- Select the desired page in the Site Content menu on the left.
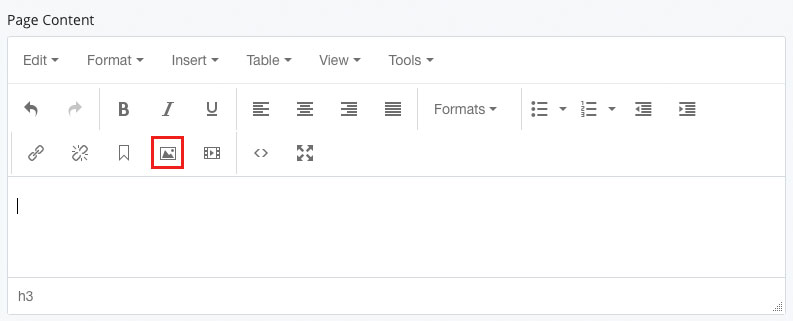
- In Edit mode, scroll down your page to the Page Content section.
- Place your cursor where you would like to insert the image.
- Click on the Insert/edit image icon.
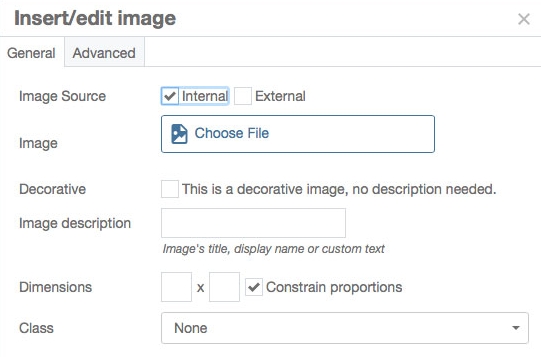
- Image Source should have the Internal option checked. Click on Choose File to select the image.
Tip
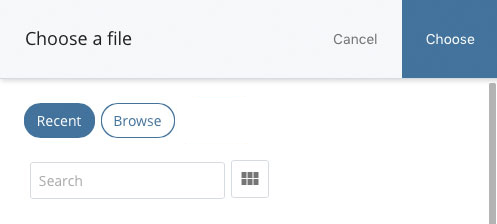
If you uploaded your image into the images directory (_assets/images folder) recently, the image can be found in the Recent tab. If not, use the Browse tab to select the image.
- Once you've selected your image, click on Choose.
- You are required to fill out the Image Description to ensure that your content is accessible. This is a required field and is important for making content accessible to people with disabilities.
- Click on Ok. Your image should now be inserted at the point your cursor was.
Format Image in the Page
Once you've inserted the image, you can use the Align Left, Align Center, and Align Right in the WYSIWYG to style the image. Align Left will float the image at the left of the Page Content column, and allow text to wrap around the right. Align Right will float the image at the right of the Page Content column, and allow text to wrap around the left. Align Center will float the image in the center of the Page Content column, and text will not wrap around the image.
To add space between your image and text:
- After you've clicked on the Insert/edit image icon, click the Advanced tab.
- To add space between your image and text, type in a number in the box for Vertical Space and/or Horizontal Space. You will notice that a CSS style has been added into the Style box for you.