Tip
Secondary Landing Pages for Lead Genaration are very similar to other Landing Pages. For more information on Primary vs. Secondary Landing Pages, browse the Primarly Landing Page section.
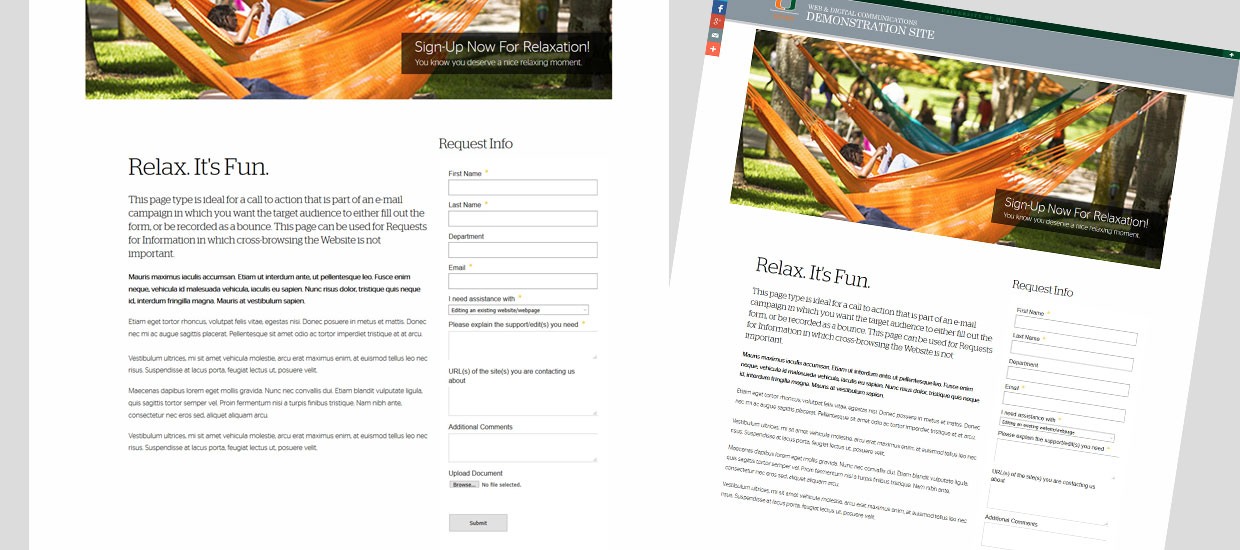
The key difference with this landing page is that is does not present universal navigation or a search in the masthead. This page type is ideal as a conversion page for e-mail campaigns.
To create a Secondary Landing Page for Lead Generation:
We typically review requests for these types of pages with you, so they cannot be normally found in the Site Content drop-down. To get help setting up a Secondary Landing Page for Lead Generation, e-mail webmaster@miami.edu with the Subject Line "Help Setup Lead Generation Landing Page."
Website site managers can copy and edit Secondary Landing Pages for Lead Generation as needed on their websites. Browsing to that location and selecting <strongEdit will allow you to edit the page.
To edit a Secondary Landing Page for Lead Generation:
- In the Site Content menu on the left, browse the site to where the page is located.
- Click the index file, you will see it load in the preview pane.
- Secondary Landing Pages for Lead Generation consist of the following editable sections:
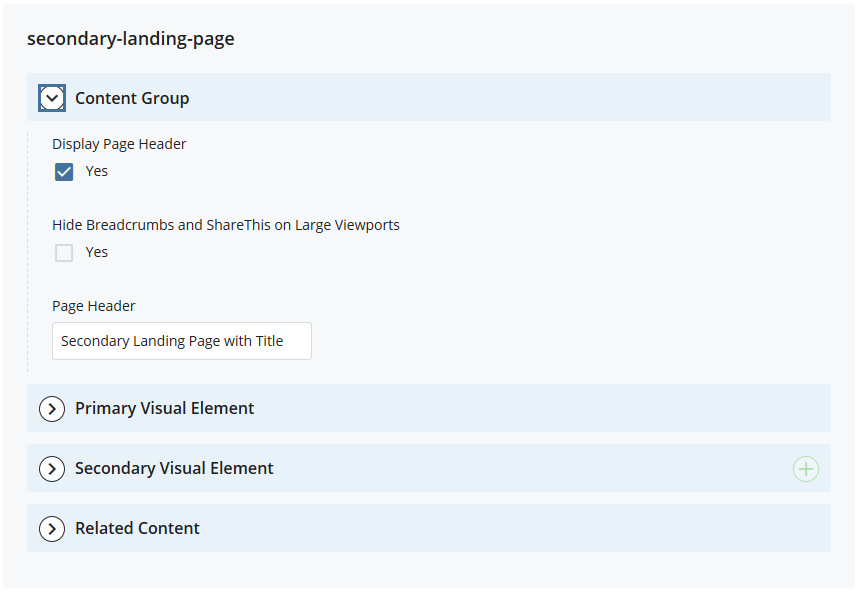
Content Group Options
- Display Page Header: Can be configured so that the "Page Header" containing the Page Title, can be either displayed or hidden.
- Hide Breadcrumbs and ShareThis on Large Viewports: Hiding Breadcrumbs and "ShareThis" removes the ShareThis feature and breadcrumbs from the page. Another option that may or may not be preferable when a Secondary Landing Page is being used as a site's homepage.
- Page Header: Presents an appopriately-styled header above the Primary Visual Element.
Primary Visual Elements
The top-most element that can appear in the Content Area of this page is the "Primary Visual Element."
To alter aspects of the Primary Visual Element incuding hiding, editing, or choosing another type of element, start be expanding the "Primary Visual Element" bix to see what details are currently set.
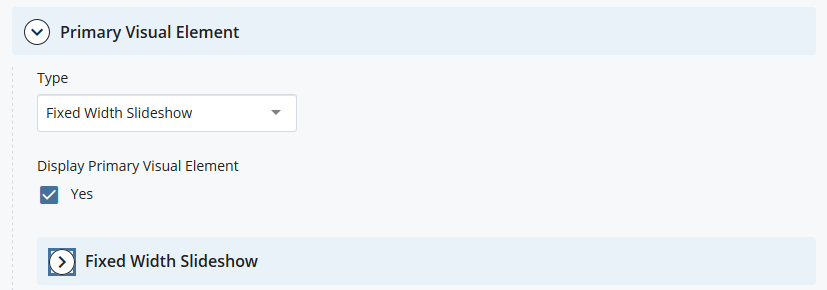
Choosing "Type" allows you change the Primary Visual Element to one of the following options, browse each link below for assistance with each.
One unique aspect of Secondary Landing Pages making them different from Primary Landing Pages is that they do NOT offer the Full-width Sideshow as a presentation option. The Full-width Visual Element is reserved for main site's of a given Web portfolio for better branded hierarchy.
To Hide the Primary Visual Element region altogether, uncheck "Display Primary Visual Element."
Secondary Visual Elements
Just below the Primary Visual Element section, you will see one or more Secondary Visual Element sections. You'll notice that you can expand and collapse the view for each section. You can also move sections up or down and remove items in the series.
Each Visual Element represents a new section of content on your landing page, and each can be set with unique options and styles. To learn about all of the other layers available on the Secondary Landing Page for Lead Generation, visit the general Landing Page details page (the layers are the same on both pages).
The Secondary Landing Page for Lead Generation has access to a specific layer not found on other standard landing pages. It is called the "Special Report Story Layer." This layer and its elements are used to create most of the parts that are key to the lead generation section of the page.
Special Reports Layer
To create a lead conversion landing page with an embedded form, select the Special Reports Layer in the dropdown to reveal more controls. You will typically place this layer below a Fixed Width Slideshow, creating a layout that consists of a large graphic image, followed by some lead-in text, and a column for a web form. The section reveals the following fields:
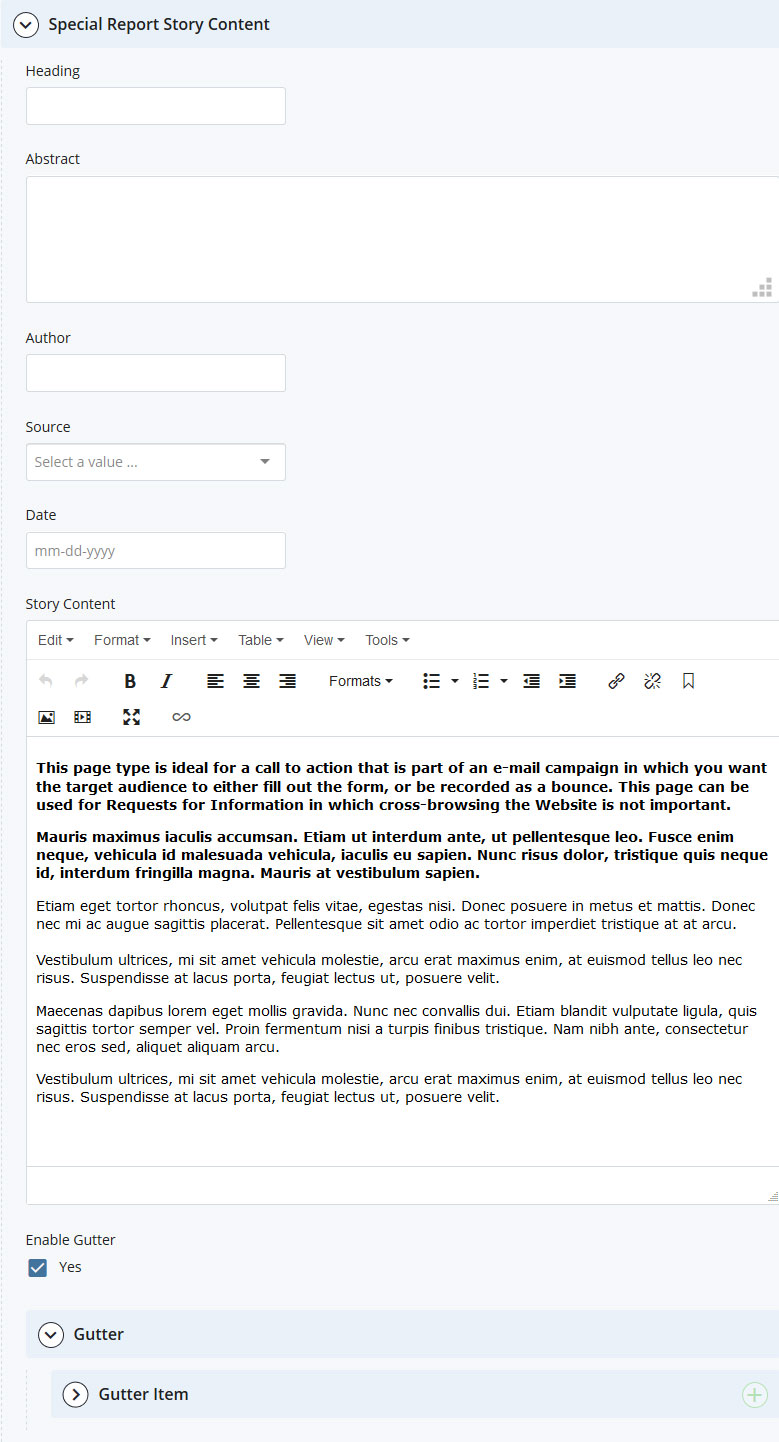
- Heading: A heading style will appear above the body copy.
- Abstract: A sub-heading style can be used for a paragraph of lead-in text.
- The Author/Source/Date fields are only used for different page applications and will apply appropriately styled and positioned elements more in alignment with a feature news story layout. For the Lead Generation use case, leave those fields blank.
- Story Content: A WYSIWYG content region that you can use to place additional body content. You can embed a web form or use the region to lead into text that might appear in the right gutter.
Gutter
The gutter is a column that appears to the right of the body content in desktop presentations. This region snaps below body content in smaller viewports. The controls for this region allow content contributors to place regions such as a links list, HTML code, or Related Stories content depending on the options set.
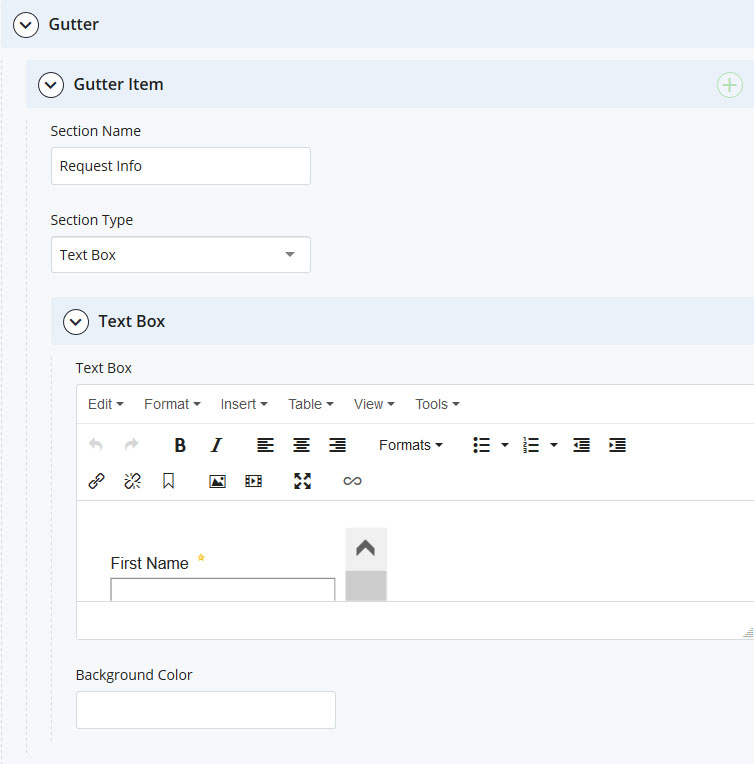
- Section Name: A header that appears above the gutter region.
- Section Type: A dropdown that lets you choose what type of content to display in the right-hand column. Options include: Story List, Follow Us, Links List, and Text Box. Each option provides different fields to allow you to create a stylized region containing a list of thumbnail images, social acccount icons, a list of links or other content in the gutter. You can even stack these regions in the gutter one over the next.
- The Text Box option is the one to select in order to embed a form in the gutter for this page's layout.
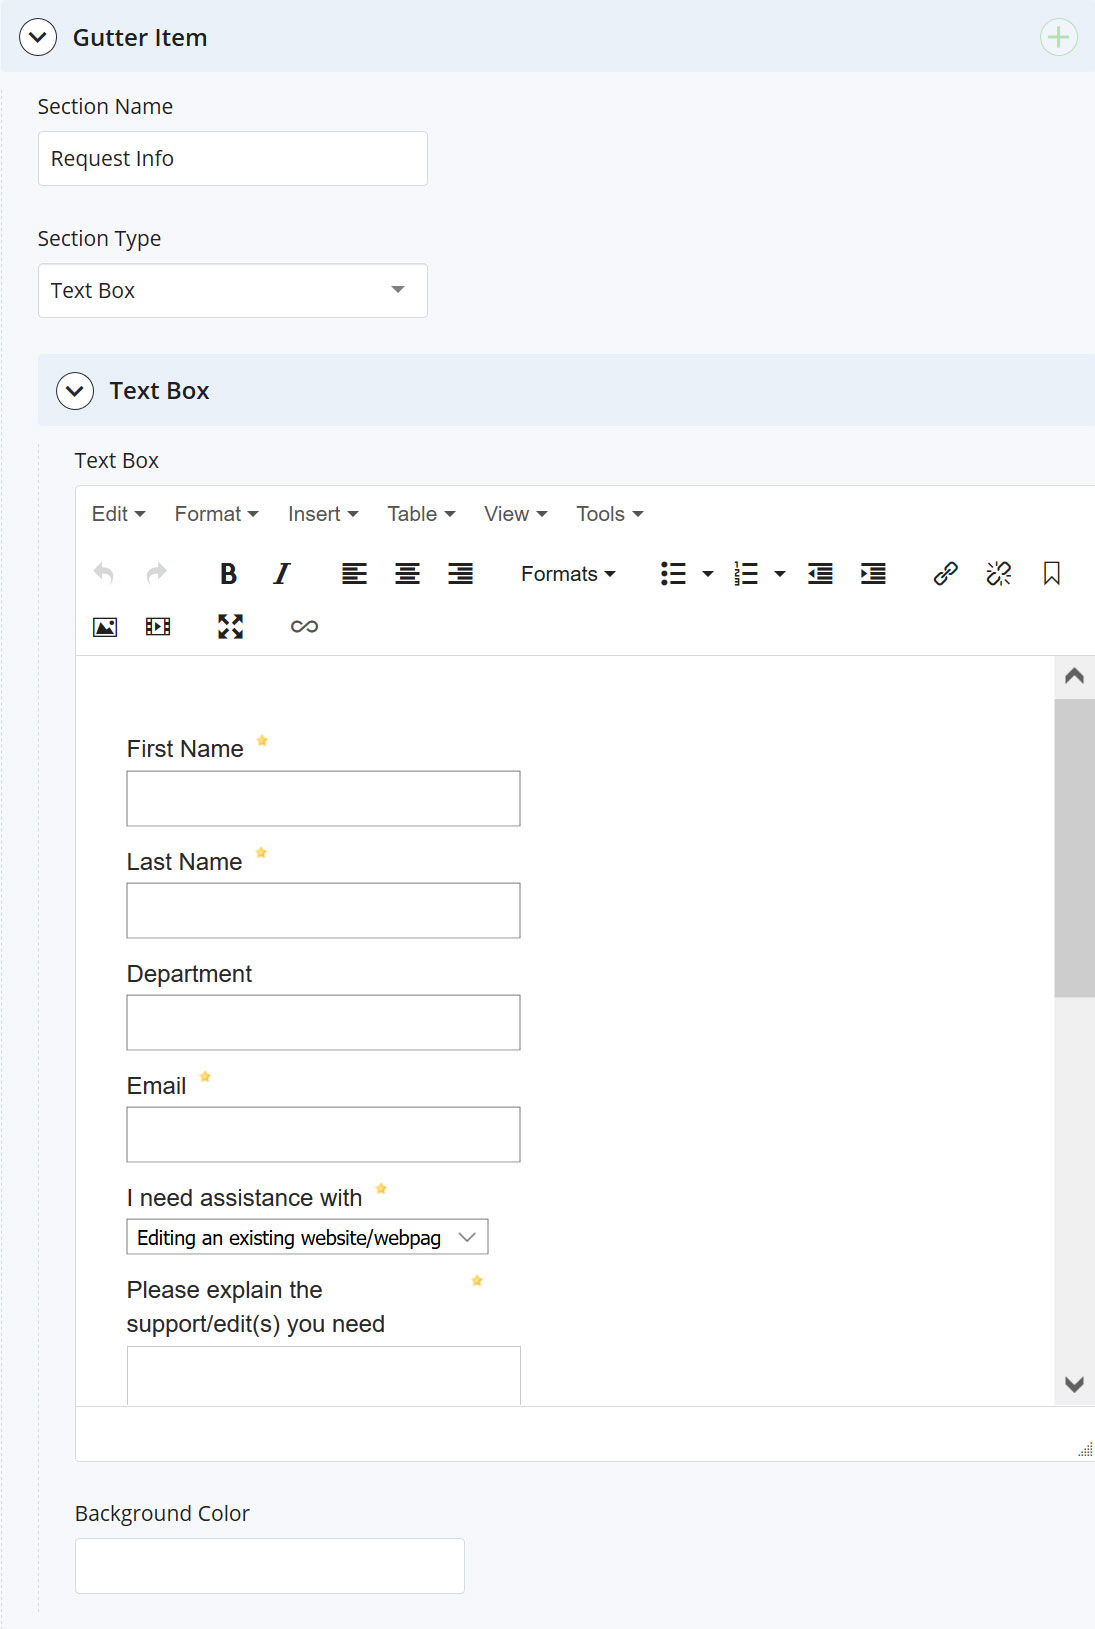
- Text Box: A WYSIWYG editor allowing access to the source code, where you can embed an iframe or a javascript form.
- Background Color: A background color term or hex code can be used to establish a bakground color for the gutter if you desire additional visual separation from the body content on larger viewports.
Related Content
The Related Content section allows you to add content tags to a specific page and on interior pages, to display the Related Content Widget. Adding content tags to a landing page allows it to be clustered with other pages elsewhere that contain the same tag.
For example, perhaps a site manager tags certain homepages within his portfolio of sites with a unique tag called "of-interest-to-parents." Using the Related Content controls found elsewhere, pages can be created that will display the pages that match that tag. In our example, perhaps there is an interior page somewhere called "Pages at the School of Music for Parents of Current Students." That page could present a link to the homepage we tagged because we added a matching tag on the "Content Tags" section of our Related Content component.
Previewing and Publishing
Once editing is complete, use the Save and Preview button to save the changes to the CMS. After you save, you can Publish the page.
Tip
It is our suggested best practice to Publish first to only the Staging destination. Once you have reviewed your page on the Staging environment, you can then Publish to the Production destination.